
This Minty Spring Pip is a good variety in the classic hummus you should try if you like traditional Humsus.
If you are looking for quick, easy, delicious and light performing weekends, this ok can add to your spring.
Peas, like many fruits and vegetables, flourish in spring.
We always make the point of growing as many remedies throughout the year and the love of gross inspiration in things we do. That is the crisis, where this is born. We have a small garden with a new manna with fresh springs in spring spring, what else you can ask!
This minty spring spring for Pea is born by getting more vegetables than they knew what to do! In addition, sometimes hunmus can get a little boring so why not turn away from a rich protein-rich?
Using a basic basis for a healthy meal with this Pea Sleep
The basic basic food is food that contains all 5 items within our basic basic sector: non-starch carbohydrate, carbohydrates, the protein and flavor factor.
Basic foundation supports your feeding your body to learn what to eat, the first step in logical food. The one who is left to know and get your food well.
By including these 5 items in your diet, support your physical body power, ensure that you are taking the nutrients you need to have a sharp focus, a healthy sleep, and healthy sleep.
For food simple, we always recommend to pair at least 2 objects together, not to add a taste object. This ensures that you have a balanced piercing that will keep you full until your next meal and we will not ring your blood sugar.
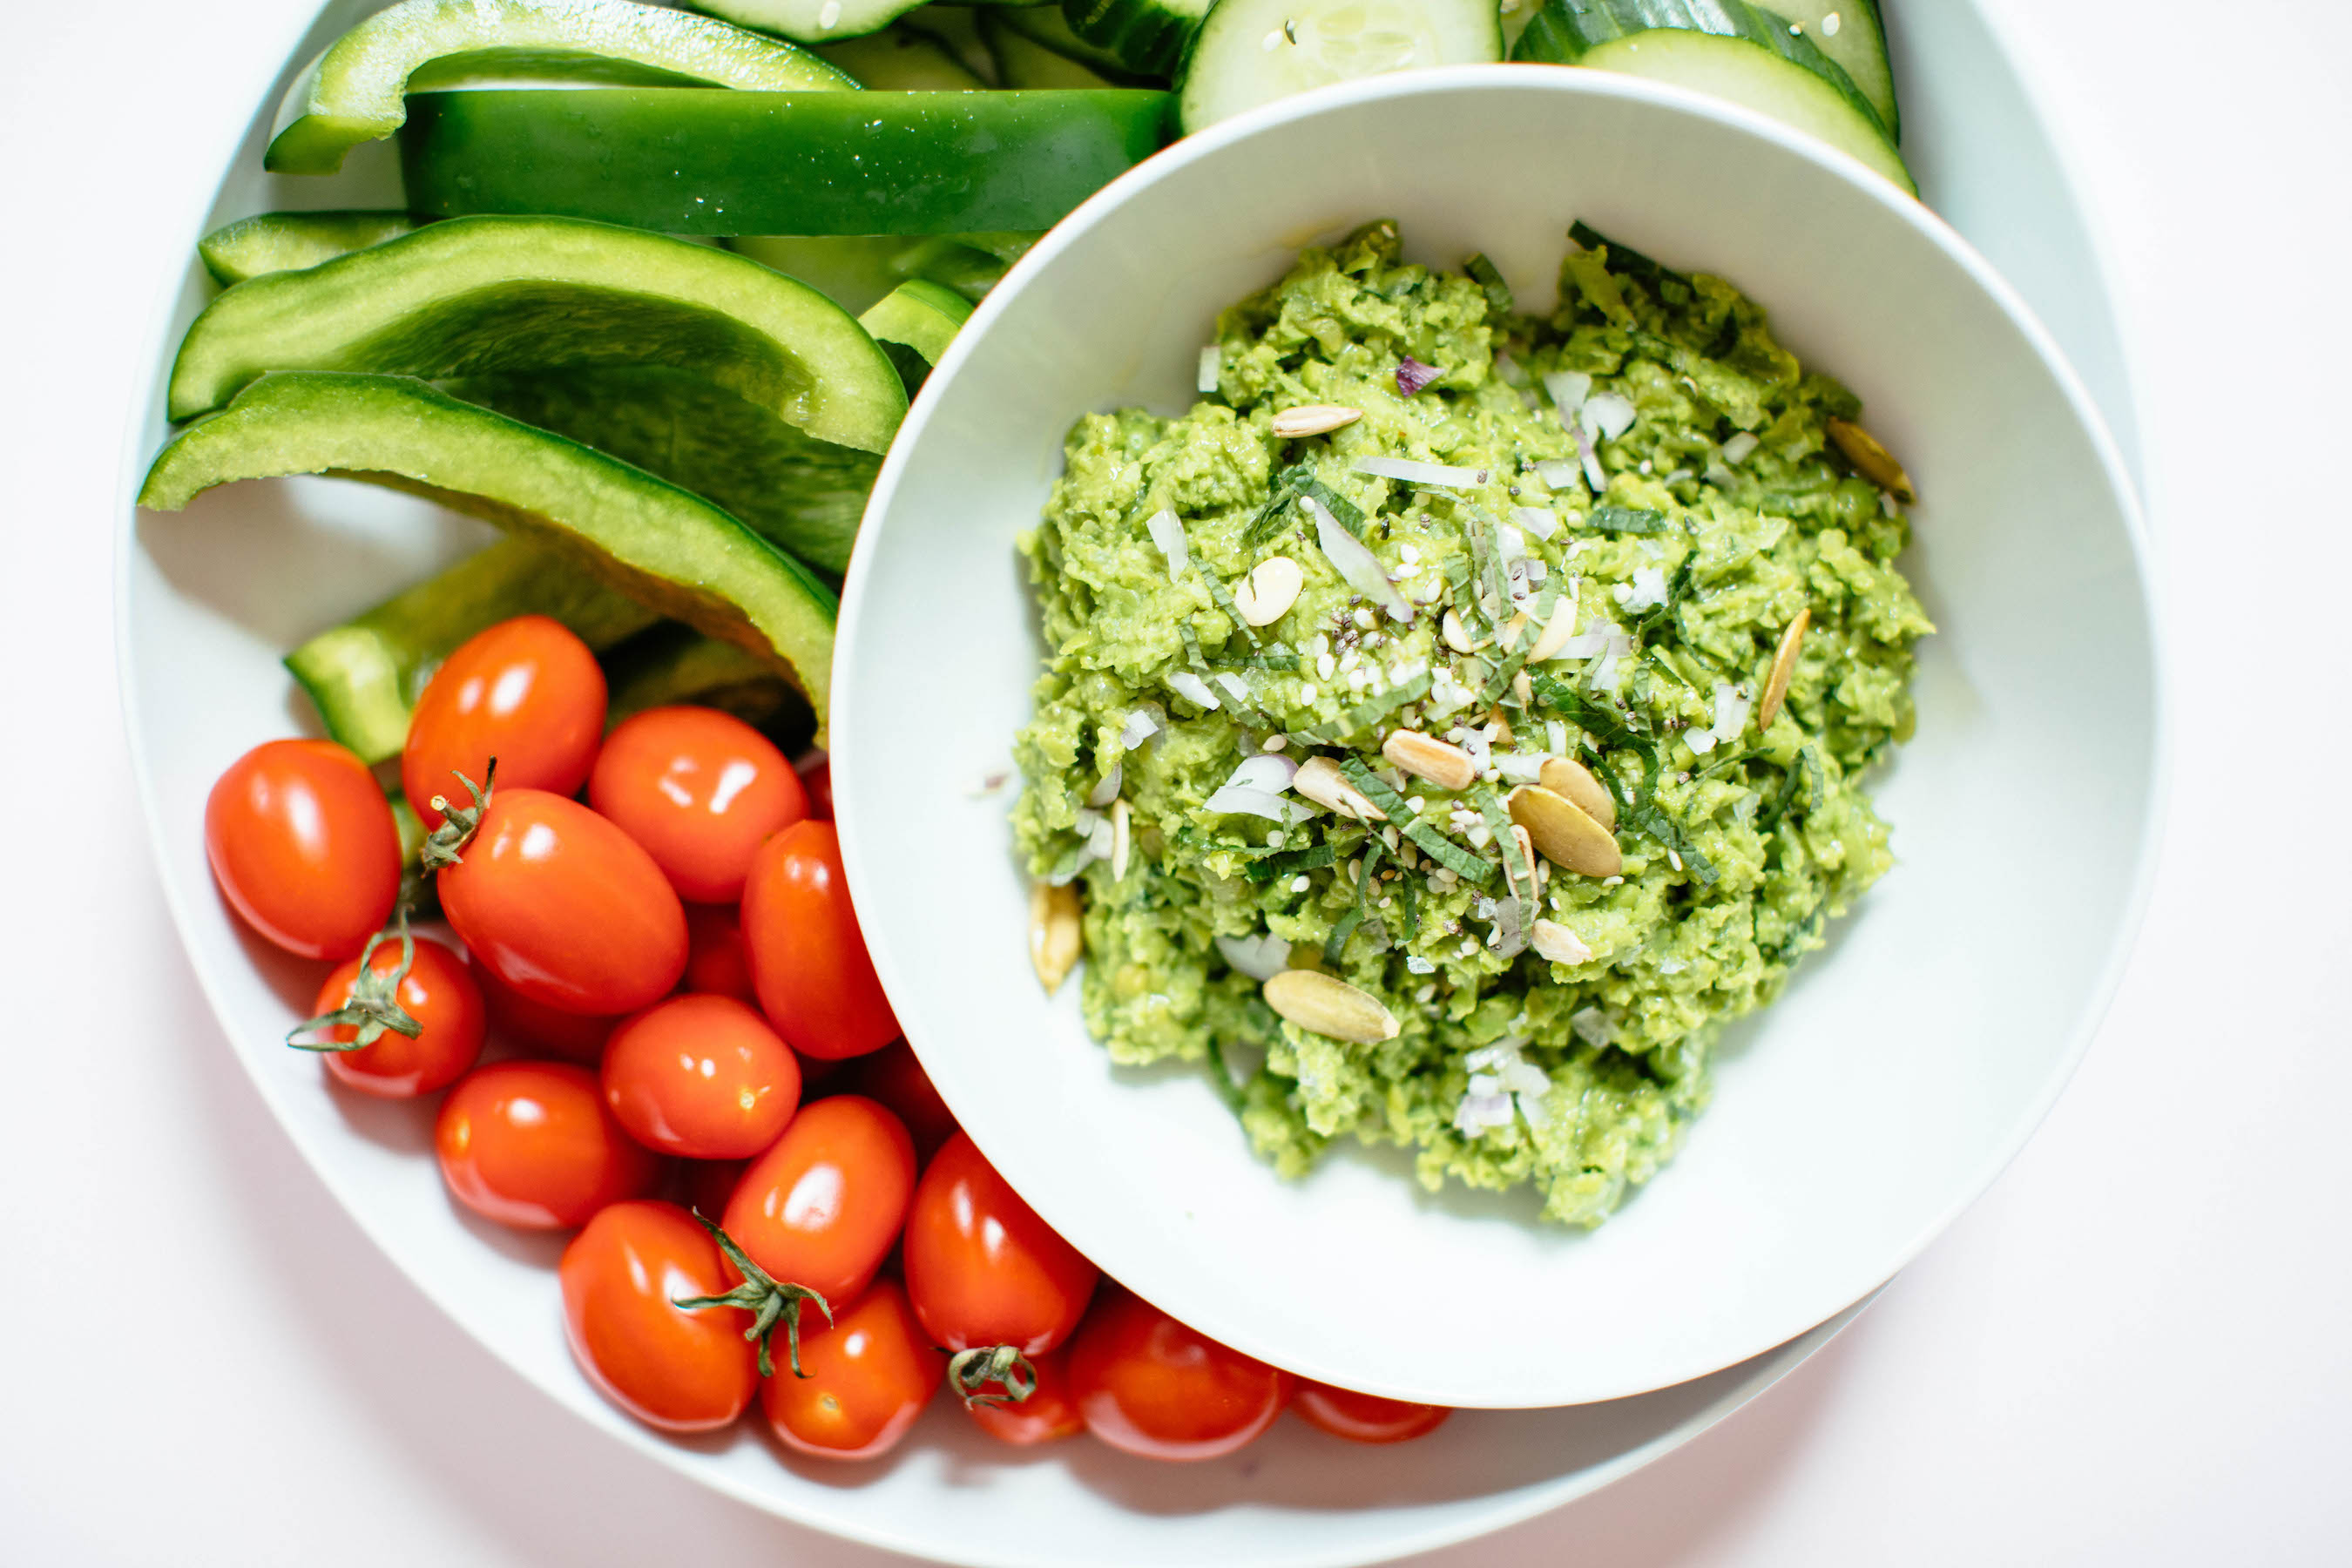
Here are five things that are established in the Minty Spring Pip Dip:
1 • non-ignored carbohydrates
- Tomato
- Cucumber
- The green peppers
- Some non-starch veggies
2 • Starchy or sugar carbohydrates
- Peas
• Healthy Oil
- Olive oil
4 • Protein
- Peas
• Flavor Factor
- Noises
- Grain
- Portion
- Theater
- Salt
- Pepper
Peas
Just one peas cup contains 4 fiber grams, ready for a separate dinner and your daily day, based on 85G / day “you need most, some need little).
The Peas is loaded with vitamin K, vitamin, protein based on the highest level of the powder-based protein protein.
Just one peas cup contains 8G proteins, higher vegetables!
Noises
The research also showed that the peppermint could help reduce the crushing issues, such as a sad stomach, blossom, gas and diarrhea. Mint has a number of antioxidants and phytonutrients that can help reduce complexity and swelling.
Fresh or frozen?
The new Peas may have more food to offer and a delicious taste, but the Calculated Page are simple and cheap. Additional ingredients you will need in this way herbs, lemons and few things you have almost already with your kitchen.
When buying frozen peas any fruit or vegetables of that matter, find out what you have found all food like one witch. For example, get a frozen Peas bag only Peas as an ingredient. You don’t need anything else!
PIA PIP Good in Transit
This Pinty DIP in the spring spring is actually a lot of flexibility than you can think about. It’s fun to keep in the fridge and hold a quick stream with other veggies or gluten-free crackers or cheaper as a vessel next to dinner or lunch.
One way to use this Piny Springy Puathe to spread the bright lemony sandwich and a bright taste or add a few tones to pasta or chopped grain of Olive election. Pea Hummus will change it into a nice sauce that can bind the pasta or grain to choose.
Still you choose to enjoy this cooking method, we know that you will love you very much like us!
Post Minty Spring PIX appeared first in the surface.


